Skip to Main Content
Campus Library Logo

What is an Exhibit in Omeka?

An Exhibit in Omeka is a digital version of a museum exhibit. Omeka Exhibits include:

  • A main Exhibit landing page with a brief description and image
  • Any number of Exhibit Pages. Exhibit Pages are comparable to different rooms in a museum exhibit
  • Each Exhibit Page includes:
    • "Content blocks" with predetermined design choices 
    • Items with Captions
    • A "curatorial essay," or writing that explains and ties together the Items in the Exhibit. Omeka curatorial essays are:
      • public writing with an audience and purpose
      • web-based, so you should consider guidelines for "writing for the web"

Prepare for your Exhibit

Familiarize yourself with how Omeka Exhibits are built and try setting up a practice Exhibit with placeholder content. Your familiarity with Omeka Exhibit structures will help you think through how to best organize and present your actual Exhibit. When you are comfortable with Omeka, consider the below ideas for conceptualizing  and planning your actual Exhibit. 

Think Through your Exhibit

Start your Exhibit development process by thinking through the following prompts:

  • What are you hoping to communicate with your Exhibit?
    • What is the overarching theme of your Exhibit?
    • What are sub-themes you might want to explore in Exhibit Pages?
    • What specifically do you want to say?
  • Who is the audience for your Exhibit? You'll want to keep your audience in mind as you select Items and write your curatorial essays
  • Exhibits are built around Items.
    • What are the most important Items to include in your Exhibit?
      • What does each of these Items contribute to your overall theme or argument?
      • What do you want to say about each Item in the context of your Exhibit?
    • Are there other Items could you bring in to add depth, breadth, or richness to your Exhibit?
  • How can you incorporate Public Writing concepts into your Exhibit? Be sure to check out the Library's Public Writing Guide.

Plan your Exhibit

Plan your Exhibit however it best works for you. Try one of these methods if helpful, or use whatever planning and design processes you typically use. 

Exhibit Planning Worksheet

The Library has developed an Omeka Exhibit Planning Worksheet with detailed prompts using Omeka's structures and design options. The worksheet is in google docs, so to use the worksheet, copy it to your own google drive or download it. The prompts in this worksheet can be a useful resource for you even if you don't use worksheet.


Visual Exhibit Planning

Planning your Exhibit visually is another option. A visual plan could help you see how all of the pieces fit together. You can use a visual plan as an overview of your exhibit along with more detailed information in the worksheet or a separate planning document. Or, you can do most of your planning in a visual space, then add your essay(s), text, and other details directly into your Omeka Exhibit as you go.

There are many options for visual Exhibit planning, from simple to complex. Here are some ideas:

  • Draw it out on paper. If you like to use pen and paper, do this! It is very effective, easy to refer to, and without tech barriers.
  • Use online/digital creation spaces you already use. Do you use Google docs and slides, Microsoft Word and Powerpoint, Apple Keynote and Sketch, Canva, etc? Try your usual tools first. Keep it simple and easy, unless your project requires more.
  • More to try:
    • Google Jamboard, supported by UW google suite
    • wireframe (search for tools online)
    • storyboard (search for tools online)

Add your Items

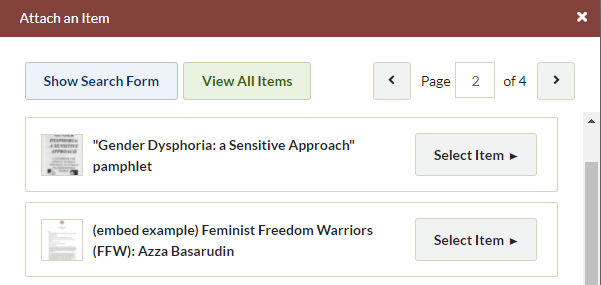
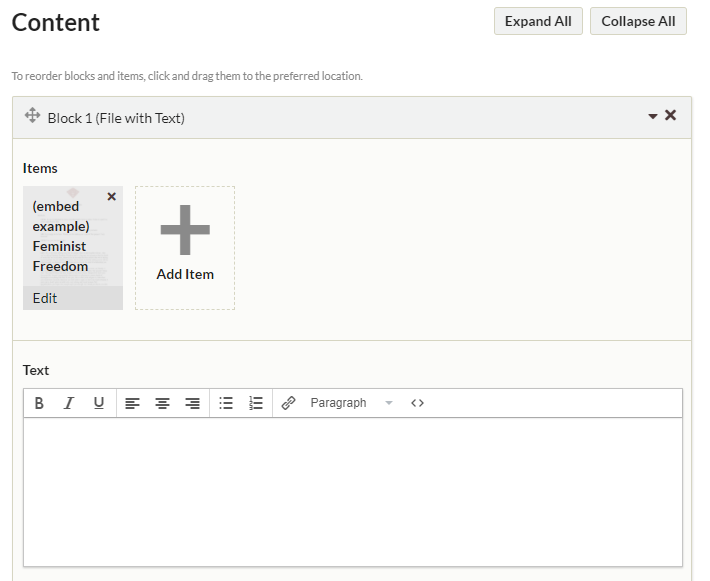
You'll need to add all of your Items to Omeka before you start building your Exhibit. As you create your Exhibit, you'll only be able to include artifacts that you've already added to Omeka as Items. The "Items" tab on this guide has instructions for adding Items to Omeka.

Item Captions

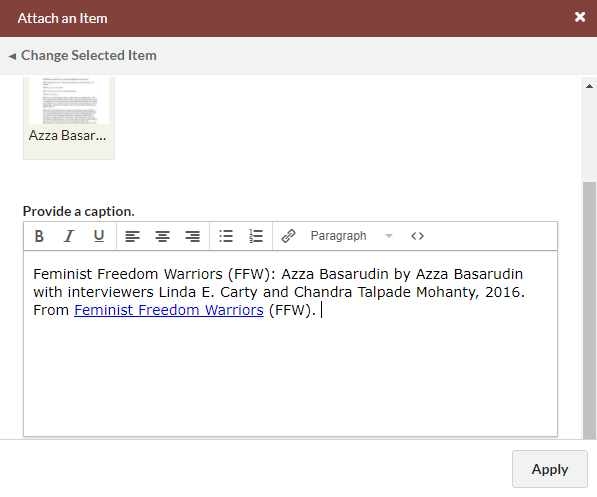
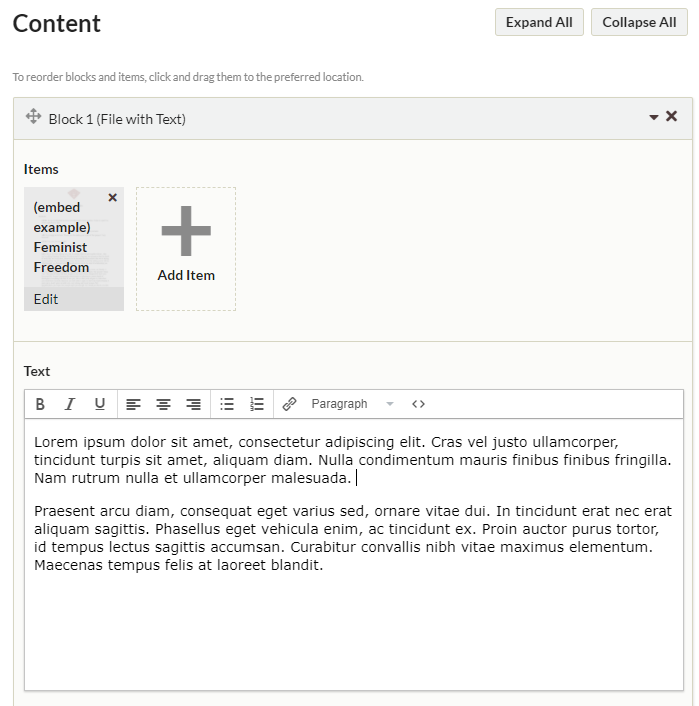
When you add an artifact to an exhibit you will need to add a caption for that artifact. This should contain basic citation information in a reader-friendly format.

Example caption format:

["Title of Artifact", hyperlinked] by [Creator of artifact], [Date], from [Name of source, hyperlinked], [Creative Commons information if relevant, hyperlinked]. [Brief description if helpful].

Example from FCA-WA:

"Lavender Law Sign" by Lavender Rights Project, 2019 from the Feminist Community Archive of Washington, CC-by-NC. Sign hanging in front lobby of Lavender Rights Project.

Add an Exhibit

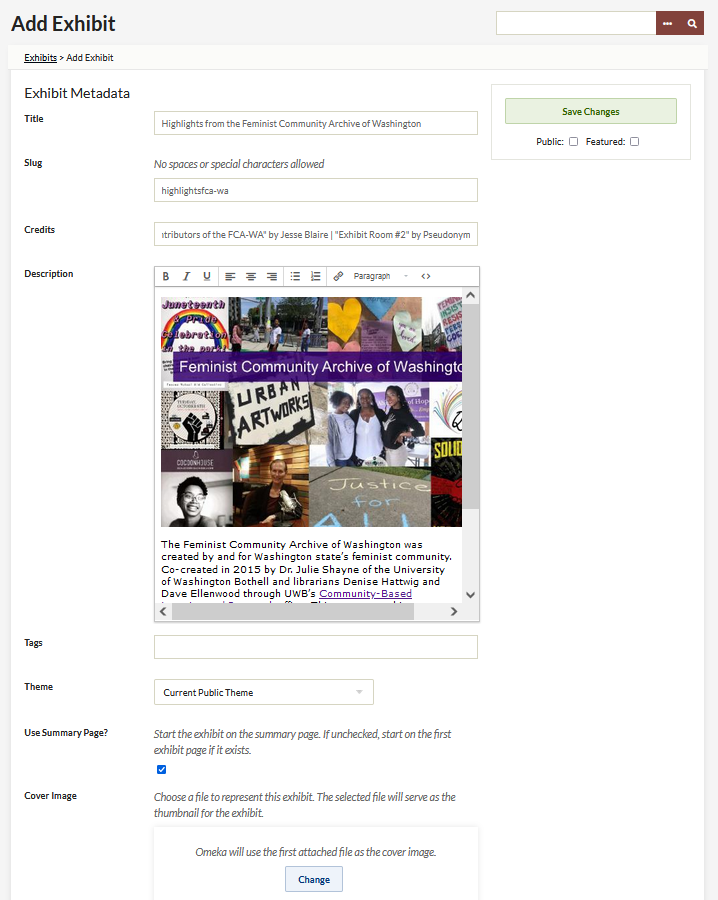
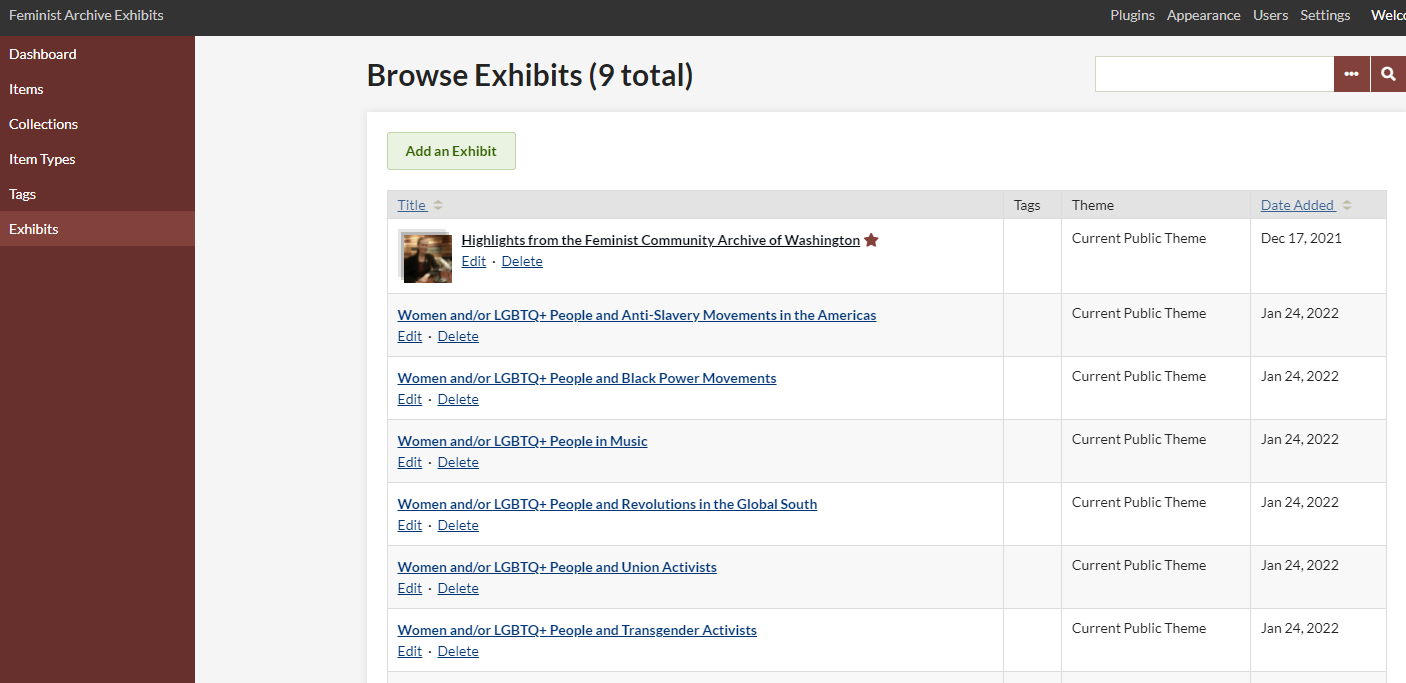
To add an exhibit in Omeka, log in to your Omeka site and follow these steps:

  1. Click on "Exhibits" in the left-hand menu and then click the green "Add an Exhibit" button
  2. You'll see the "Add Exhibit" page where you can fill in your exhibit metadata including the title, description, and tags. you are able to add a photo to the description if you wish. Omeka screenshot: Add Exhibit metadata
  3.  If your assignment includes Tags, add individual tags separated by a comma. Skip Tags if your assignment does not ask for Tags.
  4. Check the "Public" box so your item is public and click "Save Changes"

Omeka screenshot: Save changes

Add an Exhibit Page

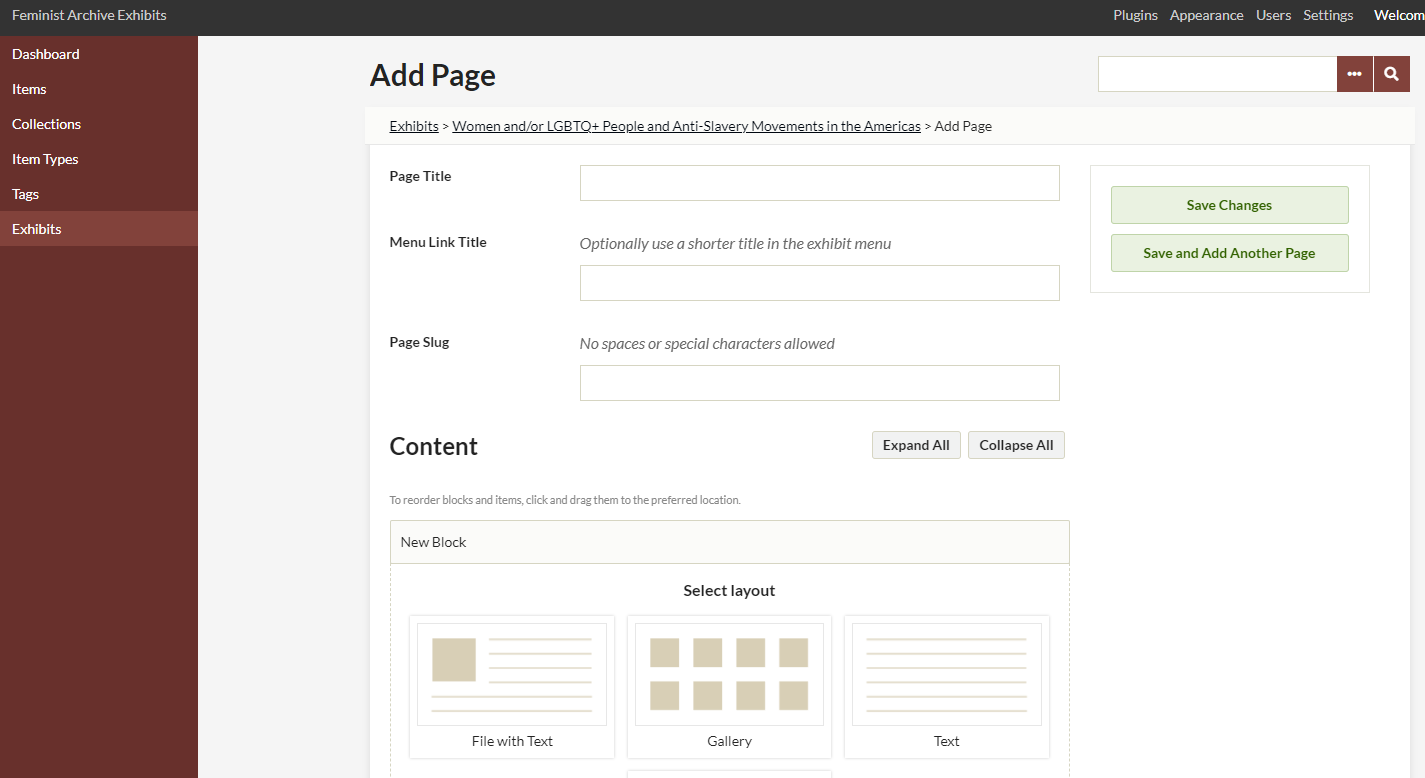
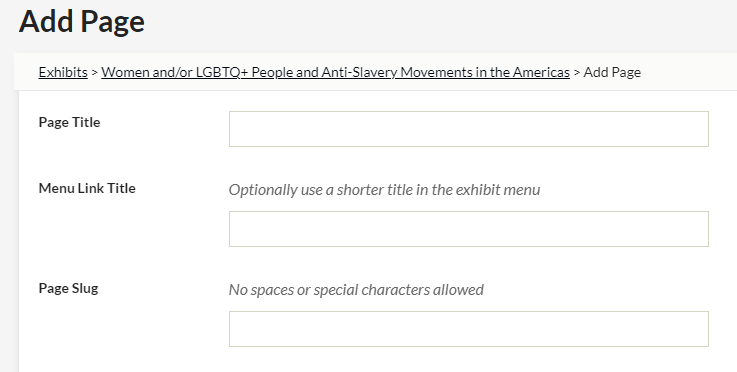
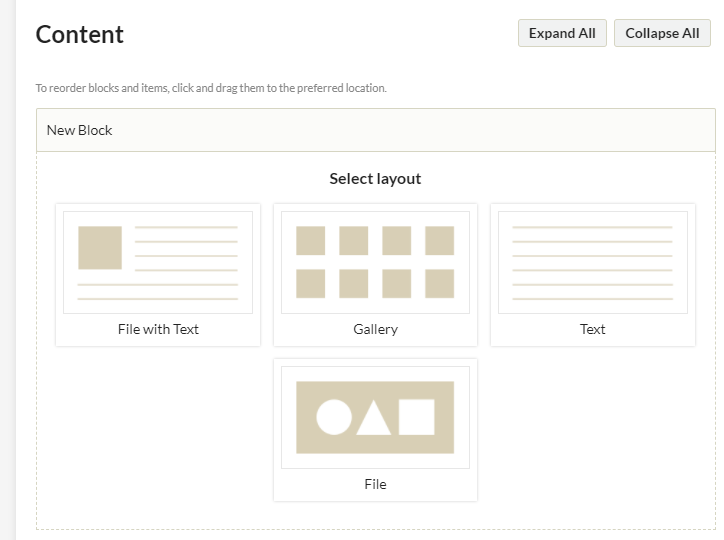
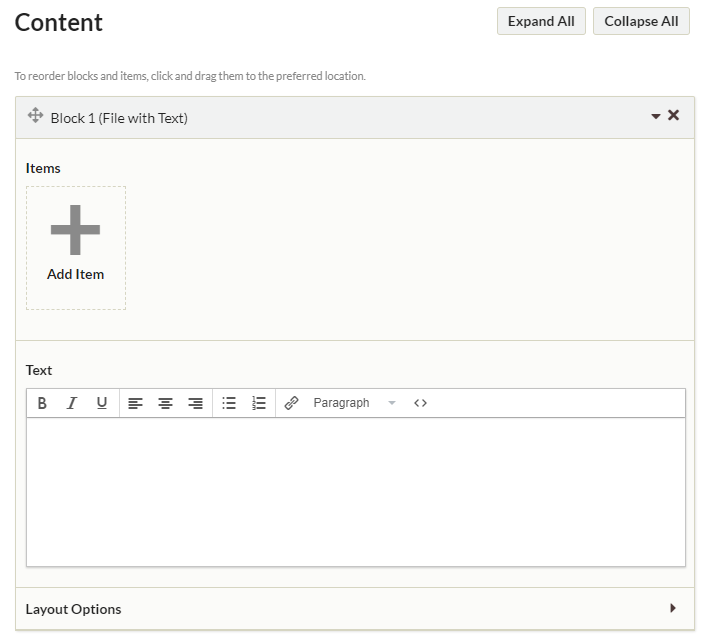
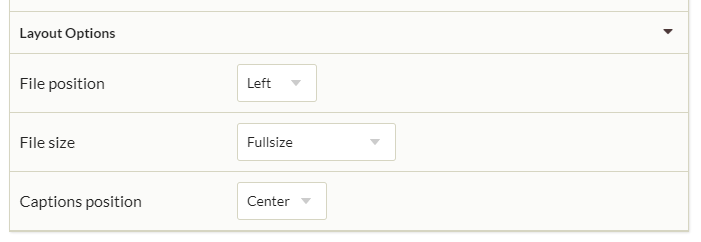
To Add an Exhibit Page in Omeka, log in to your site and follow these steps:

  1. Click on "Exhibits" in the left-hand menu.

Omeka screenshot: Dashboard

  1. Click "edit" under the exhibit you want to add a page to.

Omeka screenshot: Browse Exhibits

  1. Scroll down to "Pages" at the bottom of the screen and click the "Add Page" button.

Omeka screenshot: Add Page option

  1. Now you should be on the "Add Page" screen.

Omeka screenshot: Add Page

  1. Add information in the top section, including "Page Title," "Menu Link Title," and "Page Slug." Refer to the Exhibit Planning Worksheet for how to think this through.

Omeka screenshot: Add Page metadata including page title, menu link title, and page slug

  1. In the "Content" section, choose a layout in the "New Block" box by clicking on "File with Text," "Gallery," "Text," or "File."

Omeka screeshot: New block, select layout

  1.  Click the "Add new content block" button at the bottom of the page.

Omeka screenshot: New block, select layout

  1. You will see a workspace with space for adding Items and Text.

Omeka screenshot: Content, Add Item

  1. To add an item to your Exhibit, click "Add Item." Make sure you have already added your item to a collection via the "Add Item" process. You will not be able to add a new Item to the system here. You will only be able to add an existing item to your exhibit page.

Omeka screenshot: Content, add Item

  1. You will see an "Attach an Item" pop-up box. Scroll to find the Item you want to add to your exhibit, or click "Show Search Form" buttom to search all items.

Omeka screenshot: Attach an Item pop-up box

  1. Click the "Select Item" button next to the item you want to add to your exhibit.

Omeka screenshot: Attach an Item page with selected item

  1. Add a caption for your item. A caption should contain citation information, but in a caption format. The item metadata should provide this information for you (open the item in a new browser window to view the metadata).

The format should be as follows: [Title] by [Creator], [Date], [Creative Commons information if available, i.e. CC BY-NC]. From [Name of Archive with embedded link to item].

Omeka screenshot: Selected Item with caption

  1. Click the "Apply" button at the bottom of the box.

Omeka screenshot: Apply button

  1. You will return to the "Add Page"/content block screen and will see that you item now appears in the items section. You can add additional items by clicking the "Add Item" button.

Omeka screenshot: Adding additional Items

  1. Next you'll want to add the text for this content block. This will be text from your curatorial essay that you want to include with the item(s) in this content block.

Omeka screenshot: Adding text to a content block

  1. You can choose Layout Options including if you want your item ("file") to be on the left or right, if you want the item "file size" to be full size or other, and you how you want the caption to be positioned. Click the down arrow next to "Layout Options" to see and choose these options.

Omeka screenshot: Layout options

  1. Click the green "Save Changes" button in the right-hand box. You will return to the "Add Page" screen. Continue to add new blocks following steps 10-18 above.
  2. You'll return to the" Edit Exhibit" page. At the top of this page in the "Exhibit Metadata" section, add your exhibit name and your name/pseudonym/or "anonymous" in the "Credits" field.

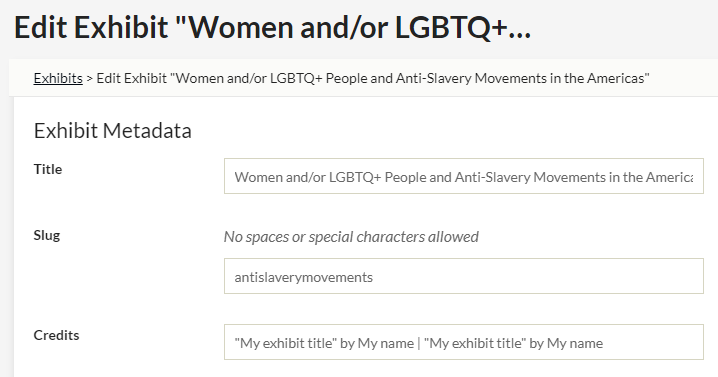
Use the format: "My exhibit title" by "My name/pseudonymm/anonymous." 

If there are multiple exhibits for your theme, separate your information from others with a vertical bar " | ". It would look like this: "My exhibit title" by "My name/pseudonym/anonymous" | "My exhibit title" by "My name/pseudonym/anonymous"

Omeka screenshot: Exhibit metadata

  1. Save changes!

Omeka screenshot: Save changes button