Skip to Main Content
Campus Library Logo

What is an Item in Omeka?

An Item in Omeka is a digital version of a/an:

  • photograph, art, poster, etc.
  • video
  • interview and transcript
  • music or sound recording
  • document
  • etc.

It can be a single file, such as a jpeg image, or it can include more than one file, such as an mp4 interview file with a pdf transcript.

Prepare Your Items

Get ready to add Items to Omeka by organizing everything in one place. One way to do this is to add all of your artifacts and information to one folder on your computer or drive. Try this method, or use whatever setup works for you:

  • Create a folder on your computer or drive called "Omeka Items"
  • Add a subfolder called "Files"
  • Try using this metadata worksheet (google sheets) to prepare yourself to add metadata to your items in Omeka. Make a copy of the sheet in google drive or download a copy to your computer, then add your own metadata.
  • In your folder, add the downloaded spreadsheet or add a shortcut link to the google sheet
     

Your folder might look something like this:
screenshot of file explorer

Omeka Metadata Worksheet

Track your Items, links, and metadata with our Omeka Metadata Worksheet (google sheets). Make a copy of this worksheet to use for your own file and metadata tracking.

Add Items: Upload or Embed

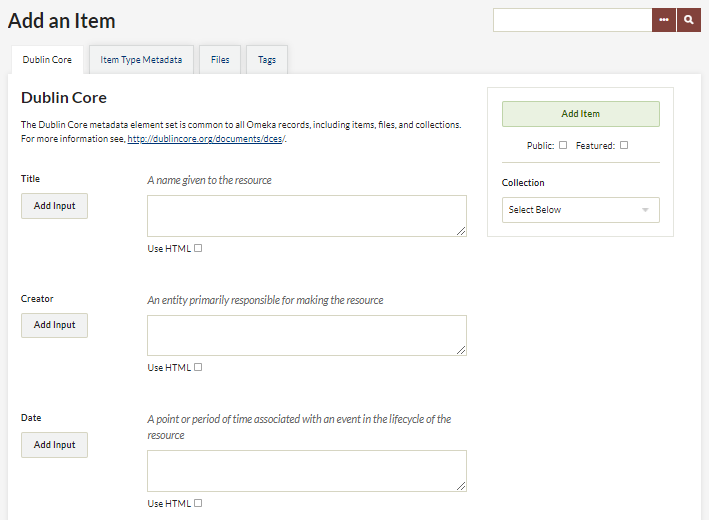
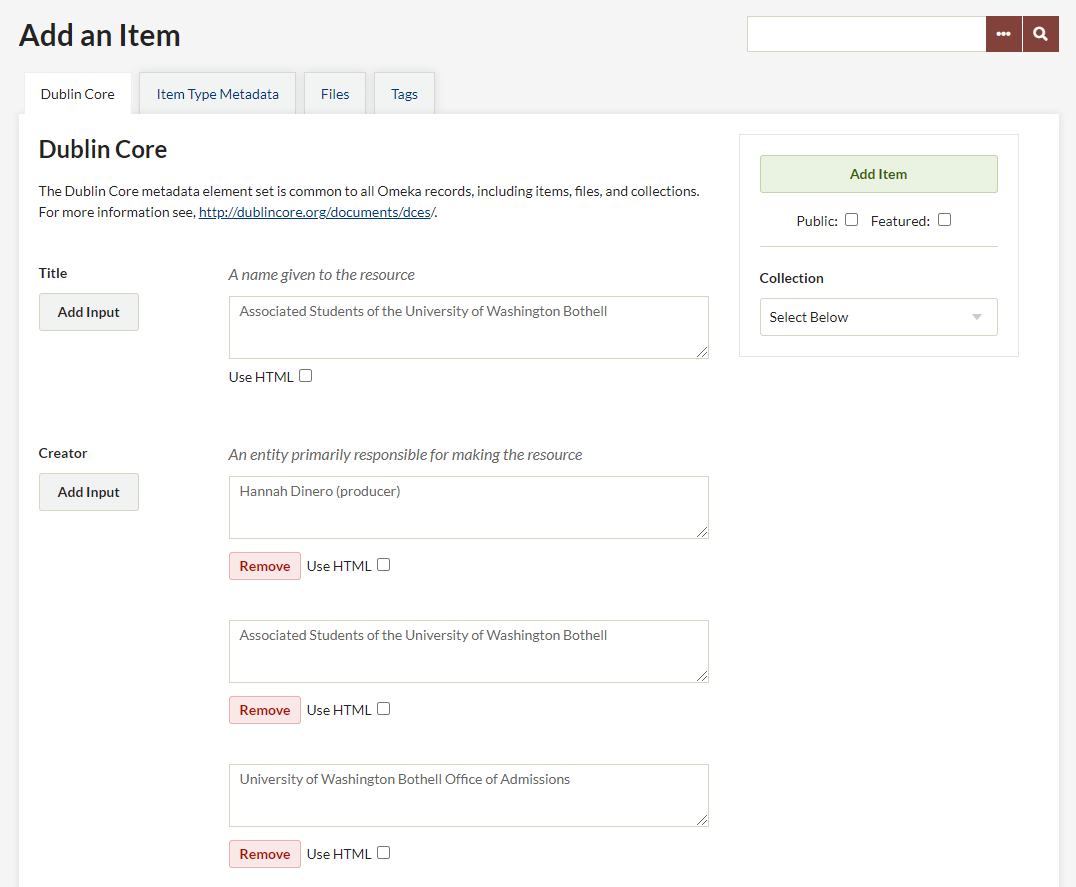
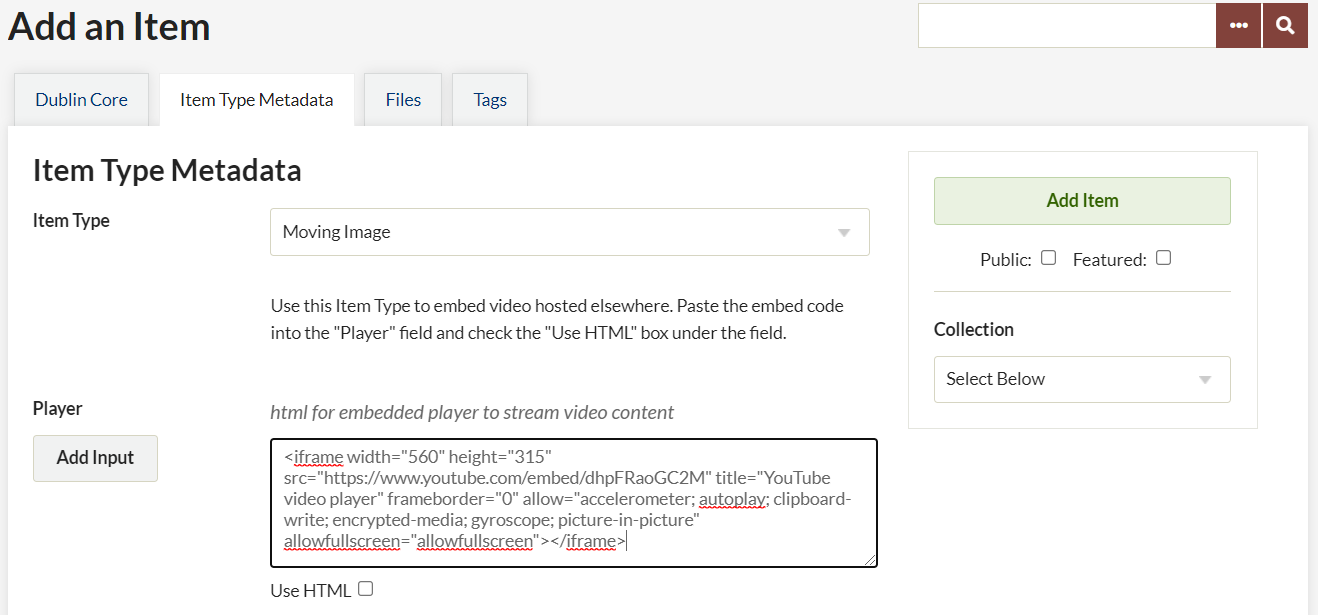
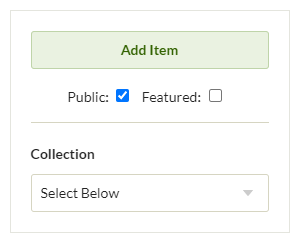
To Add an Item in Omeka, log in to your site and follow these steps:

  1. Click "Add a new item" from the Dashboard, or "Add an item" from the "Items" tab in the left-hand menu
     
  2. You'll see the "Add an Item" page with tabs at the top for metadata, uploading files, and adding tags

    Omeka screenshot: Add an Item page header
     
  3. Add Dublin Core metadata for your item in the Dublin Core tab (copy this from the spreadsheet you have prepared)

    Omeka screenshot: Add an Item, Dublin Core metadata
     
  4. If you need to add more than one value (i.e., multiple Creator names), click the "Add Input" button for each new value. Add clarifications (such as Creator role) in parentheses after the value (optional)

    Omeka screenshot: Dublin Core with multiple values
     
  5. If you are embedding a video, go to the "Item Type Metadata" tab and select "Moving Image." Copy the embed code into the "Player" field. If you are not embedding a video you can skip the "Item Type Metadata" tab (unless you need it for a specialized purpose).

    Omeka screenshot: Add an Item, Item Type Metadata

    Check the "Use HTML" box
     under the "Player" field and you should see your embedded content.

Omeka screenshot: Add an Item, embedded content
 

  1. If you are uploading files(s), go to the "Files" tab. Click "Choose File" and navigate to the file on your computer or storage device that you want to upload. Click the "Add another file" button to upload additional files that are part of this Item (such as a transcript for an audio recording, a photo or screenshot to accompany an embedded video, etc.

    Omeka screenshot: Add an Item, Add new files
     
  2. If your assignment includes Tags, go to the "Tags" tab and add tags, with individual tags separated by a comma. Skip Tags if your assignment does not ask for Tags.
     
  3. In the right-hand box, select the Collection for your Item
    Omeka screenshot: Add an Item, Add Item box
  4. Check the "Public" box so your Item is visible to visitors to your site
    Omeka screenshot: Add an Item, Add Item box
  5. Click the green "Add Item" button
    Omeka screenshot: Add an Item, Add Item button
  6. Important: You must click the "Add Item" button for your work to be saved. Your Item and uploaded files will NOT be saved if you do not click the "Add Item" button.