Start your Pressbooks experience by browsing books others have created in Pressbooks. This will give you a sense of what Pressbooks can do, and how your final book will look.
The Examples section of this guide points you to books published in Pressbooks from both the University of Washington and the national PressbooksEDU network.
Your first step to start using Pressbooks will be to create an account.
Go to UW Pressbooks and click the “Create an Account” button under “Get Started”.
You’ll see a “Create an Account” form to fill out. Complete the form with your UW information. Be sure to read the “User Guidelines & Policies.” Submit the form.
You’re all set! You can now log in with your NetID by clicking “Sign In” in the top right corner of the UW Pressbooks homepage. Be sure to click the “Sign in with UW NetID” button. You’ll be redirected to the NetID authentication page.
Once you’ve logged in, you’ll be redirected to the UW Pressbooks homepage. From here you can click on “My Books” in the top right corner to access your dashboard.
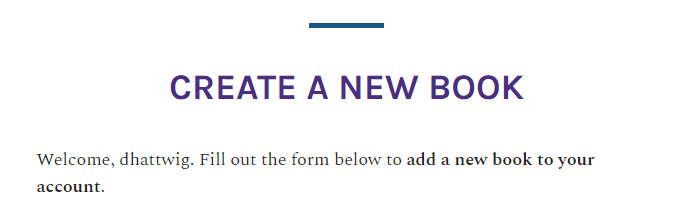
After you’ve logged into your account, you’ll want to create a book so you can start learning how to use Pressbooks. We recommend starting with a test book for experimentation as you learn the system. You can always create new books later.
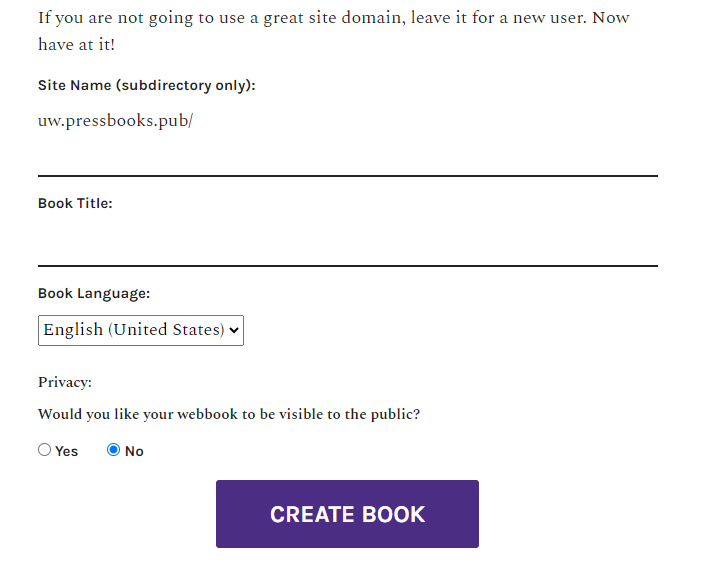
To create a new book, go to the red “Create Book” button in the top menu. You’ll then see a screen something like this:
The site name (URL) for your book can’t be changed, so make sure you choose carefully.
The site name (URL) will be formatted like this, with the name of your book replacing the “denisetest”:
https://uw.pressbooks.pub/denisetest/
You can create any number of books, so if you change your mind later, you can always create a new book with the new URL.
The Book Title, Book Language, and Privacy can be changed at any time. Start with a book that is not visible to the public while you are drafting, and change this setting when you are ready to publish.
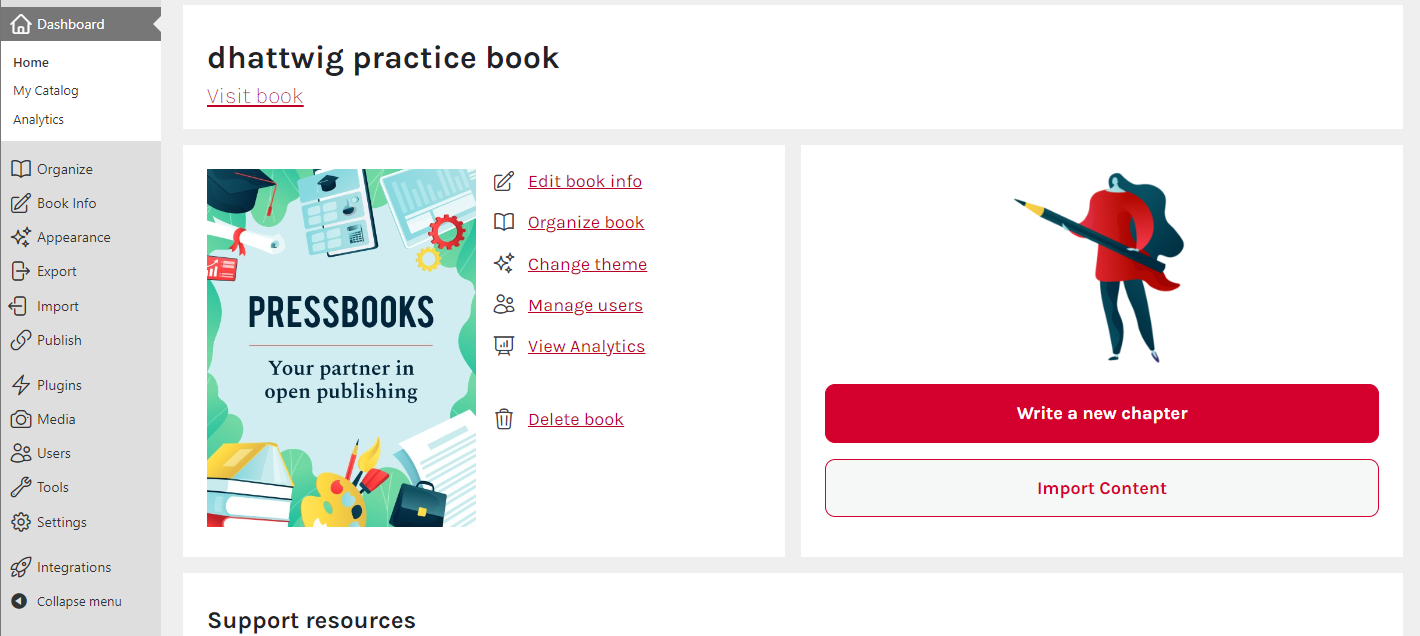
Once you’ve created a book, you can go to your “Dashboard” to access all of the admin functions associated with the book. Familiarize yourself with the Dashboard and Pressbooks functionality by clicking around and exploring the menus.
Once you have your book set up, you can jump right in and start experimenting. If you want to learn more first, or if you get stuck, resources for using Pressbooks are listed in the Using Pressbooks section of this guide.